Here’s a detailed breakdown of the code, split into sections for a blog post explaining how to integrate Google One Tap Sign-In with Vue.js, decode user credentials, and display the profile information.
Integrating Google One Tap Sign-In with Vue.js
Google One Tap Sign-In allows users to quickly authenticate with your web app using their Google account. In this blog post, we’ll integrate Google One Tap with Vue.js, decode the returned credential, and display the user’s profile picture, name, and email.
Step 1: Install google-one-tap Library
First, install the google-one-tap library to handle the One Tap functionality. Run the following command in your project directory
npm i google-one-tapStep 2: Setting Up the Vue.js Component
Create a Vue.js component for the One Tap integration. We’ll initialize the Google One Tap feature and handle the user credentials.
Script Section
Below is the script section of the component:
|
1 2 3 4 5 6 7 8 9 10 11 12 13 14 15 16 17 18 19 20 21 22 23 24 25 26 27 28 29 30 31 32 33 34 35 36 37 38 39 40 41 42 43 44 45 46 47 |
<script> import googleOneTap from 'google-one-tap'; export default { data() { return { user: null, // Object to hold user info }; }, mounted() { const options = { client_id: 'YOUR_CLIENT_ID_HERE', // Replace with your Google OAuth Client ID auto_select: false, // Optional: Prevent automatic user selection cancel_on_tap_outside: false, // Optional: Keep prompt visible if clicked outside context: 'signin', // Optional: Set context as 'signin' or 'signup' }; googleOneTap(options, (response) => { if (response && response.credential) { // Decode the JWT credential const base64Url = response.credential.split('.')[1]; // Extract payload const base64 = base64Url.replace(/-/g, '+').replace(/_/g, '/'); const jsonPayload = decodeURIComponent( atob(base64) .split('') .map((c) => `%${('00' + c.charCodeAt(0).toString(16)).slice(-2)}`) .join('') ); const profileInfo = JSON.parse(jsonPayload); // Parse payload as JSON // Store user info in the data property this.user = { name: profileInfo.name, // User's name email: profileInfo.email, // User's email picture: profileInfo.picture, // User's profile picture URL }; // Optional: Log user information for debugging console.log('User Profile Information:', this.user); } else { console.error('No credential received or invalid response.'); } }); }, }; </script> |
Key Points:
- Replace
YOUR_CLIENT_ID_HEREwith your actual Google OAuth Client ID. - The
googleOneTapfunction initializes the Google One Tap prompt with specified options. - The
response.credentialcontains a JWT token, which is decoded to extract user information like name, email, and profile picture.
Step 3: Display User Profile Information
Once the user data is decoded and stored, display the user’s profile picture, name, and email in the UI.
Template Section
Here’s the template code to conditionally render user information:
|
1 2 3 4 5 6 7 8 9 10 |
<template> <div v-if="user" class="user-profile"> <img :src="user.picture" alt="Profile Picture" class="profile-picture" /> <h3>{{ user.name }}</h3> <p>{{ user.email }}</p> </div> <div v-else> <p>Loading user profile...</p> </div> </template> |
Explanation:
- The
v-ifdirective ensures the profile information is displayed only whenuserdata is available. - The
:srcdirective dynamically binds the profile picture URL.
Step 4: Styling the Profile Section
Add some basic CSS to style the profile picture and user information.
|
1 2 3 4 5 6 7 8 9 10 11 12 13 |
<style> .user-profile { text-align: center; margin-top: 20px; } .profile-picture { width: 100px; height: 100px; border-radius: 50%; object-fit: cover; margin-bottom: 10px; } </style> |
Explanation:
- The
.user-profileclass centers the content and adds some margin. - The
.profile-pictureclass creates a circular image usingborder-radiusand ensures it fits perfectly withobject-fit.
Step 5: Testing the Integration
- Replace
YOUR_CLIENT_ID_HEREwith your Google OAuth Client ID from the Google Cloud Console. - Run your Vue.js app with
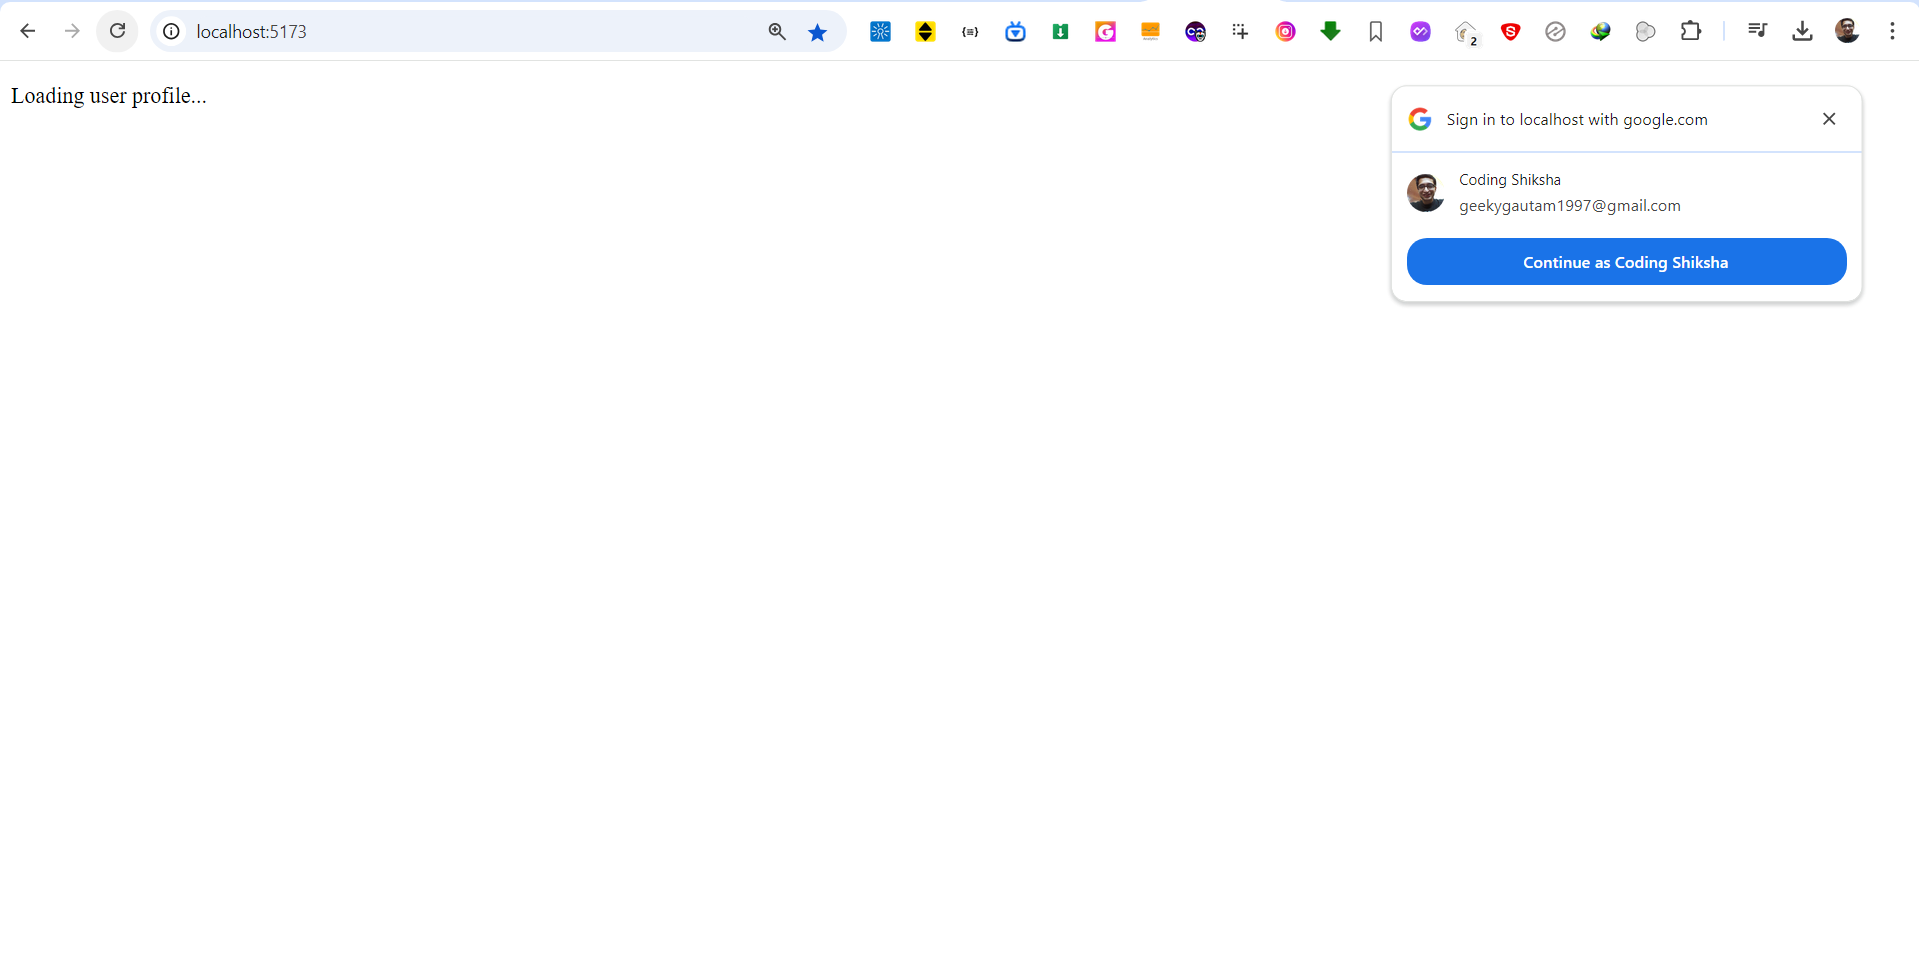
npm run serveor the appropriate command. - Open the app in your browser, and the Google One Tap prompt should appear.
- Once you sign in, your profile picture, name, and email will be displayed.
Final Code
Here’s the complete code for reference:
Component Script
|
1 2 3 4 5 6 7 8 9 10 11 12 13 14 15 16 17 18 19 20 21 22 23 24 25 26 27 28 29 30 31 32 33 34 35 36 37 38 39 40 41 42 43 44 45 46 47 48 49 50 51 52 53 54 55 56 57 58 59 60 61 62 63 64 65 66 67 68 69 70 71 72 |
<script> import googleOneTap from 'google-one-tap'; export default { data() { return { user: null, // Object to hold user info }; }, mounted() { const options = { client_id: '', // required auto_select: false, // optional cancel_on_tap_outside: false, // optional context: 'signin', // optional }; googleOneTap(options, (response) => { if (response && response.credential) { // Decode the JWT credential const base64Url = response.credential.split('.')[1]; // Extract the payload part const base64 = base64Url.replace(/-/g, '+').replace(/_/g, '/'); const jsonPayload = decodeURIComponent( atob(base64) .split('') .map((c) => `%${('00' + c.charCodeAt(0).toString(16)).slice(-2)}`) .join('') ); const profileInfo = JSON.parse(jsonPayload); // Parse the payload to JSON // Extract username, email, and profile picture this.user = { name: profileInfo.name, // Full name email: profileInfo.email, // Email address picture: profileInfo.picture, // Profile picture URL }; // Log the details (optional) console.log('User Profile Information:', this.user); } else { console.error('No credential received or invalid response.'); } }); }, }; </script> <template> <div v-if="user" class="user-profile"> <img :src="user.picture" alt="Profile Picture" class="profile-picture" /> <h3>{{ user.name }}</h3> <p>{{ user.email }}</p> </div> <div v-else> <p>Loading user profile...</p> </div> </template> <style> .user-profile { text-align: center; margin-top: 20px; } .profile-picture { width: 100px; height: 100px; border-radius: 50%; object-fit: cover; margin-bottom: 10px; } </style> |